
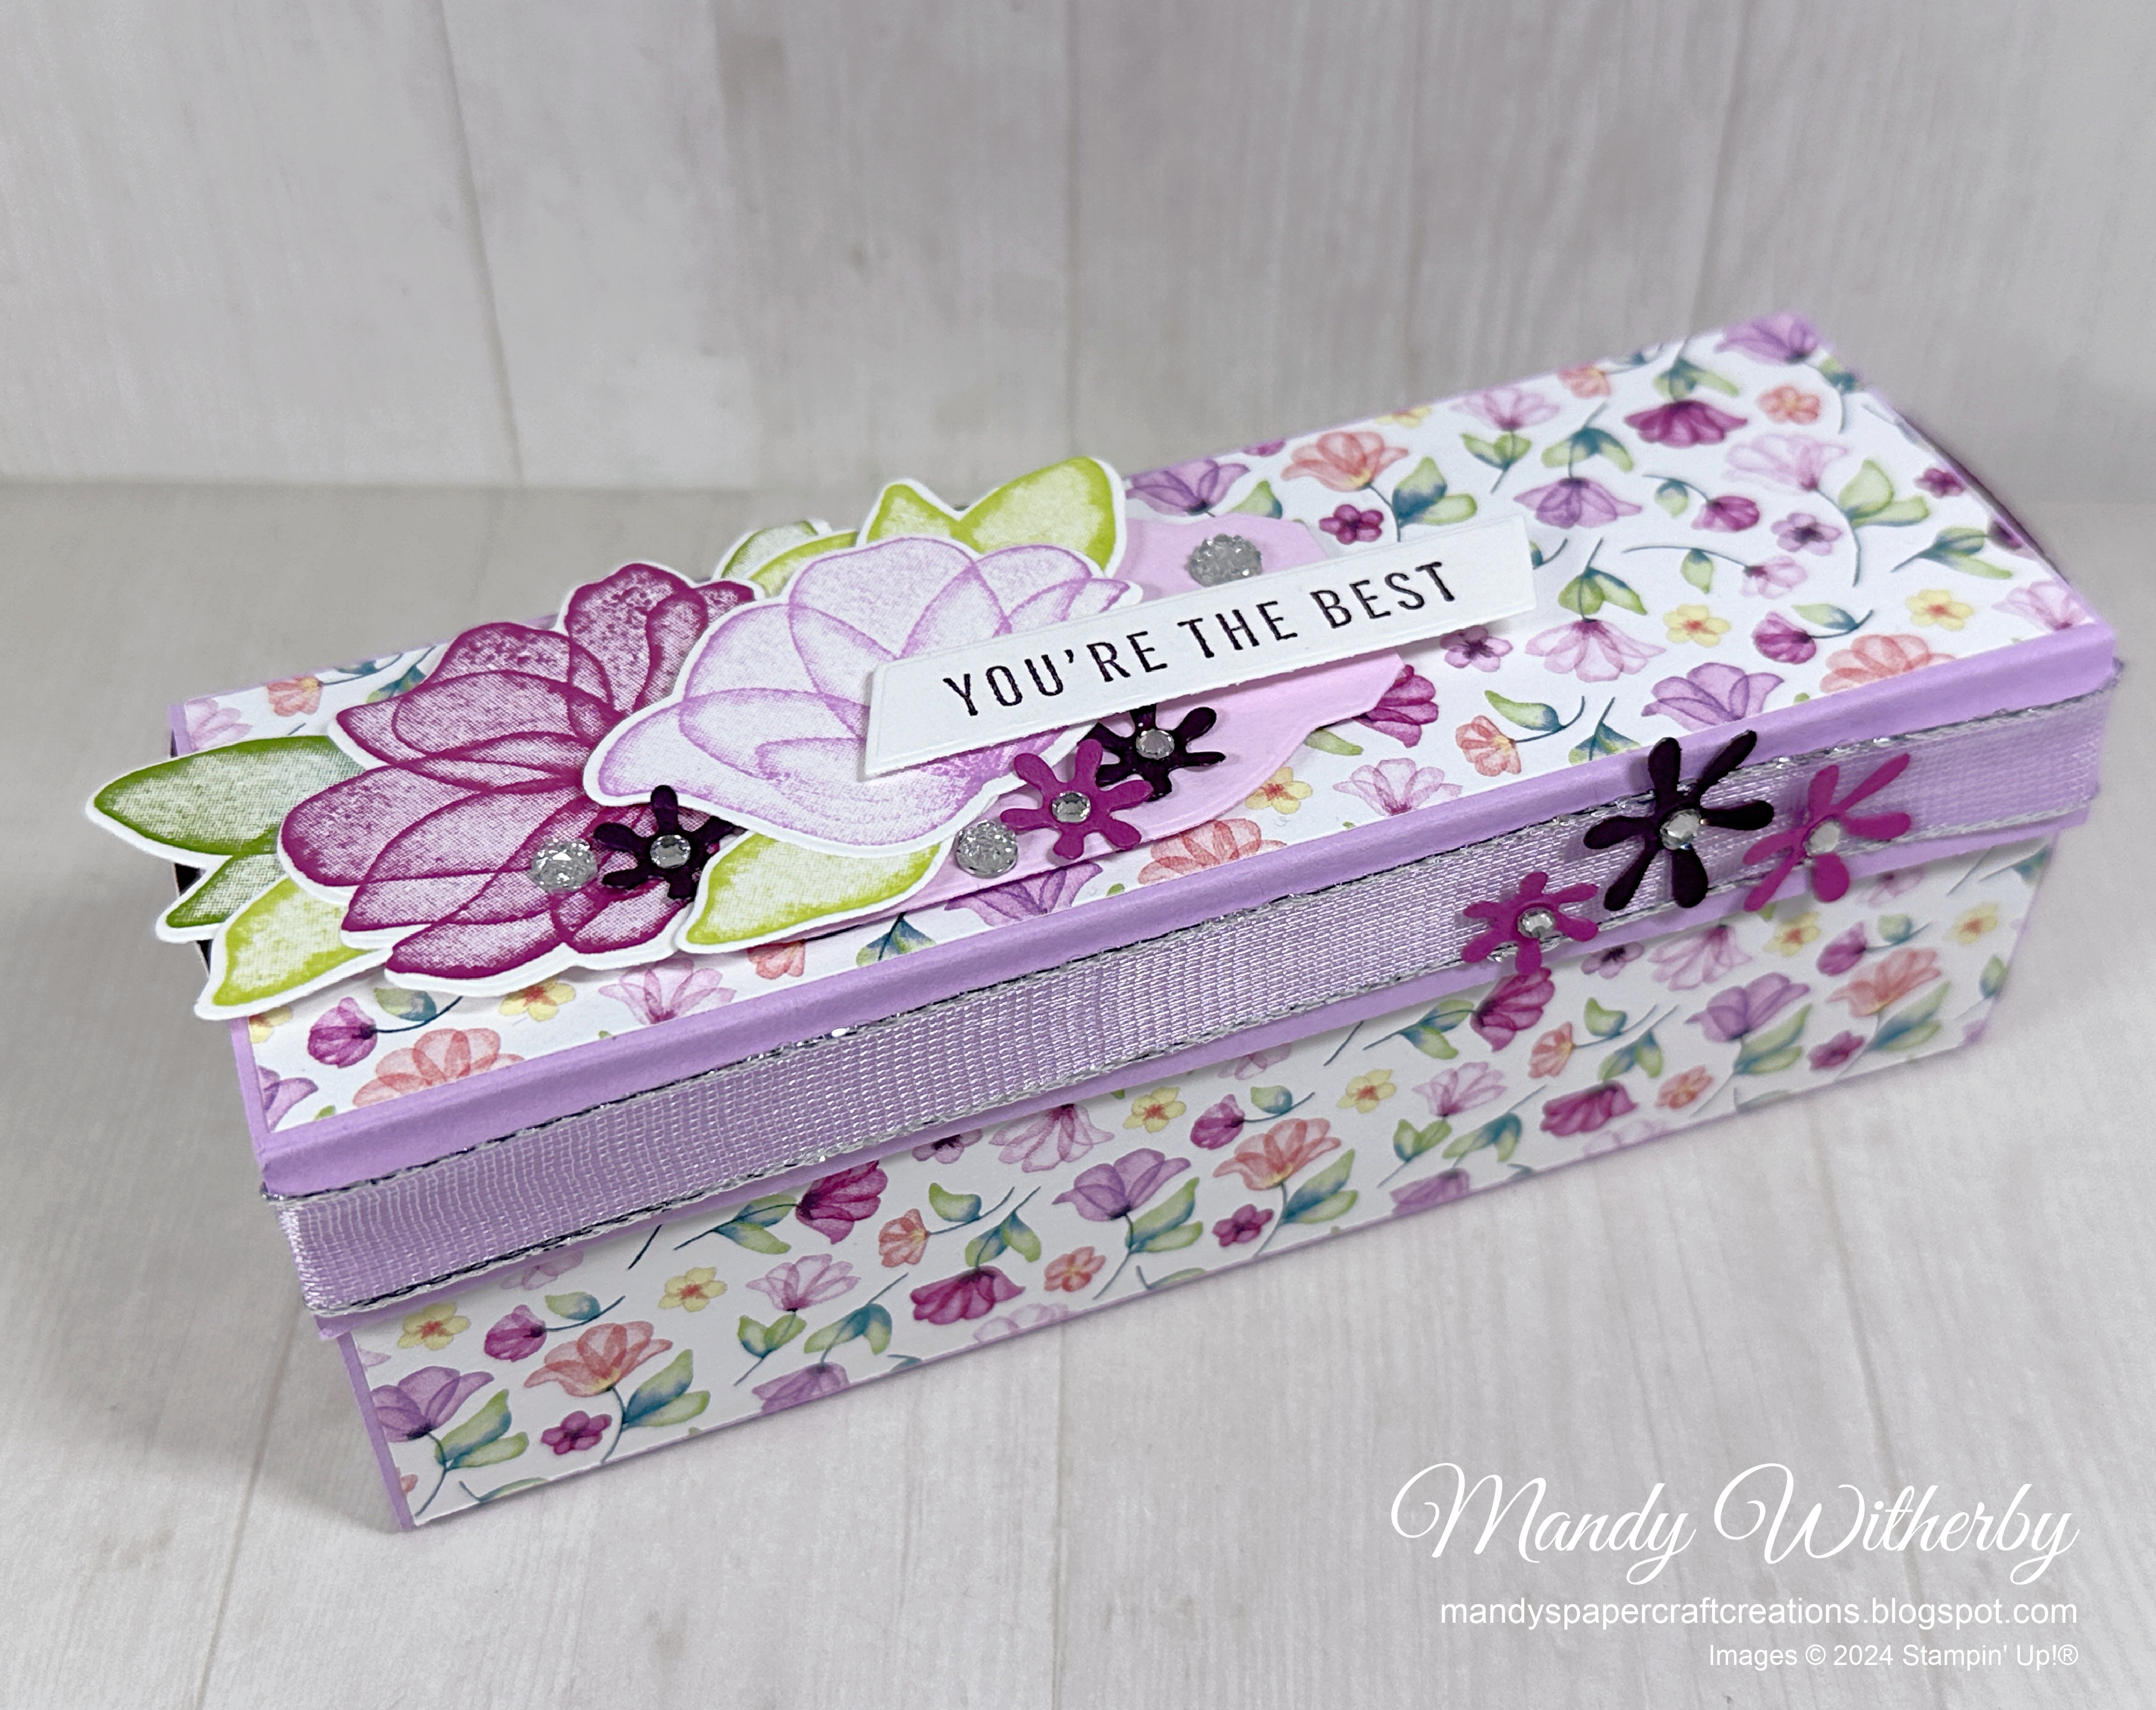
Recently one of my team members showed us how to create this clever Fold Flat Rigid Box, during our monthly Team Gathering. She discovered it a while ago from UK Demonstrator, Claire Ottaway. It’s a great size for lots of little gifts, or yummy treats and can be folded flat for storage until you are ready to use it.
For the closure you can use magnets, Velcro Dots, a belly band, or ribbon. So there are lots of options.
.jpeg)
All you need is a piece of cardstock and half a sheet of 12”x12” Designer Series Paper, then whatever you would like to use to decorate the box.
For this box I used the Nests of Winter Designer Series Paper from the September - December 2024 Mini Catalogue, with Crumb Cake Cardstock to form the box. Then, the Winterly Tree Tops Bundle, Cherry Cobbler & Gold Satin Ribbon and Cherry Cobbler & Pearl Adhesive Backed Berries (all also from the Sept-Dec 2024 Mini Catalogue) for decorating and embellishing.


Full product list for my card and direct shopping link can be found HERE.
Measurements
Box Base - Crumb Cake Cardstock - 22.2cm x 15.2cm - on long side score at 5.1cm, 10.2cm, 15.2cm & 20.3cm
Box - Nests of Winter Designer Series Paper - 15cm x 25cm (directional designs should be along the long side 25cm) - on long side score at 5cm & 20cm - on short side score at 5cm & 10cm - on each corner square, score on diagonal from intersection of the two score lines to the outer corner and fold corners inwards.
Decorative strips x3 (front, top and back) - Nests of Winter Designer Series Paper - 4.7cm x 14.7cm
Front Flap - Nests of Winter Designer Series Paper - 1.6cm x 14.7cm
Belly Band - Crumb Cake Designer Series Paper - 4cm x 22.2cm
Ribbon around Belly Band - 40cm
Tag - Basic White Cardstock - 7cm x 5cm
Stamped bird - Basic White Cardstock - 6cm x 6cm
Leaves - Garden Green Cardstock - off cuts

.jpeg)
I hope my project has inspired you in your creativity and encouraged you to consider playing with this clever box design.
*** When shopping with me, remember to use my current Host Code when your order is over $75 AUD, to receive a thank you gift from me. You will find my current Host Code at the top right side of my blog page.
SEPTEMBER 2024 Host Code is FUZBG4ME
If your order is over $250 AUD, don't use the Host Code, as you will receive Stampin’ Rewards from Stampin' Up!®. Be sure to claim them before you check out.

Receive the current Crafty Collaborations Tutorial Bundle FREE with a $75+ AUD order in my online store, or purchase it from me anywhere in the world for $28 AUD.
Sign up for my Newsletter to keep updated with the latest Stampin' Up!® news HERE and receive a free exclusive tutorial bundle from me.
Request a Stampin' Up!® catalogue from me in Australia.
Find all my Links HERE.
Thank you so much for stopping by my blog today.
Have a great day and Happy Crafting.
Love Mandy

Comments
Post a Comment
Thank you so much for your comment and for visiting my blog.