
If it is a butterfly stamp set, I have to have it!!! I just love the beauty of butterflies.

Today I am participating with Demonstrators from all around the world in Kylie and Bruno Bertucci's Demonstrator Training Program Blog Hop. After you have visited my blog, be sure to hop along to view the blog's of the other Demonstrator's who are participating this month. You will find the list below. Just click on the next name after mine.
For this hop, we are focussing on the new Butterfly Bouquet products. These products are available as a special release promotion from 2nd March 2021. The Butterfly Brilliance Stamp Set and Brilliant Wings Dies will be carrying over into the 2021-2022 Annual Catalogue. However the 6" x 6" Butterfly Bijou Designer Series Paper and 12" x 12" Natural Touch Specialty Paper is only available while supplies last, so don't miss out.
For this Blog Hop, I created the card below during my weekly Facebook Live. I started with a vague idea of what I wanted to create, but it turned out a little different. Do you ever have that happen? Start with one idea and it turns into something quite different? I'm sure we all do.


I also cut some of the detailed butterflies from Vellum to layer over the coloured butterflies.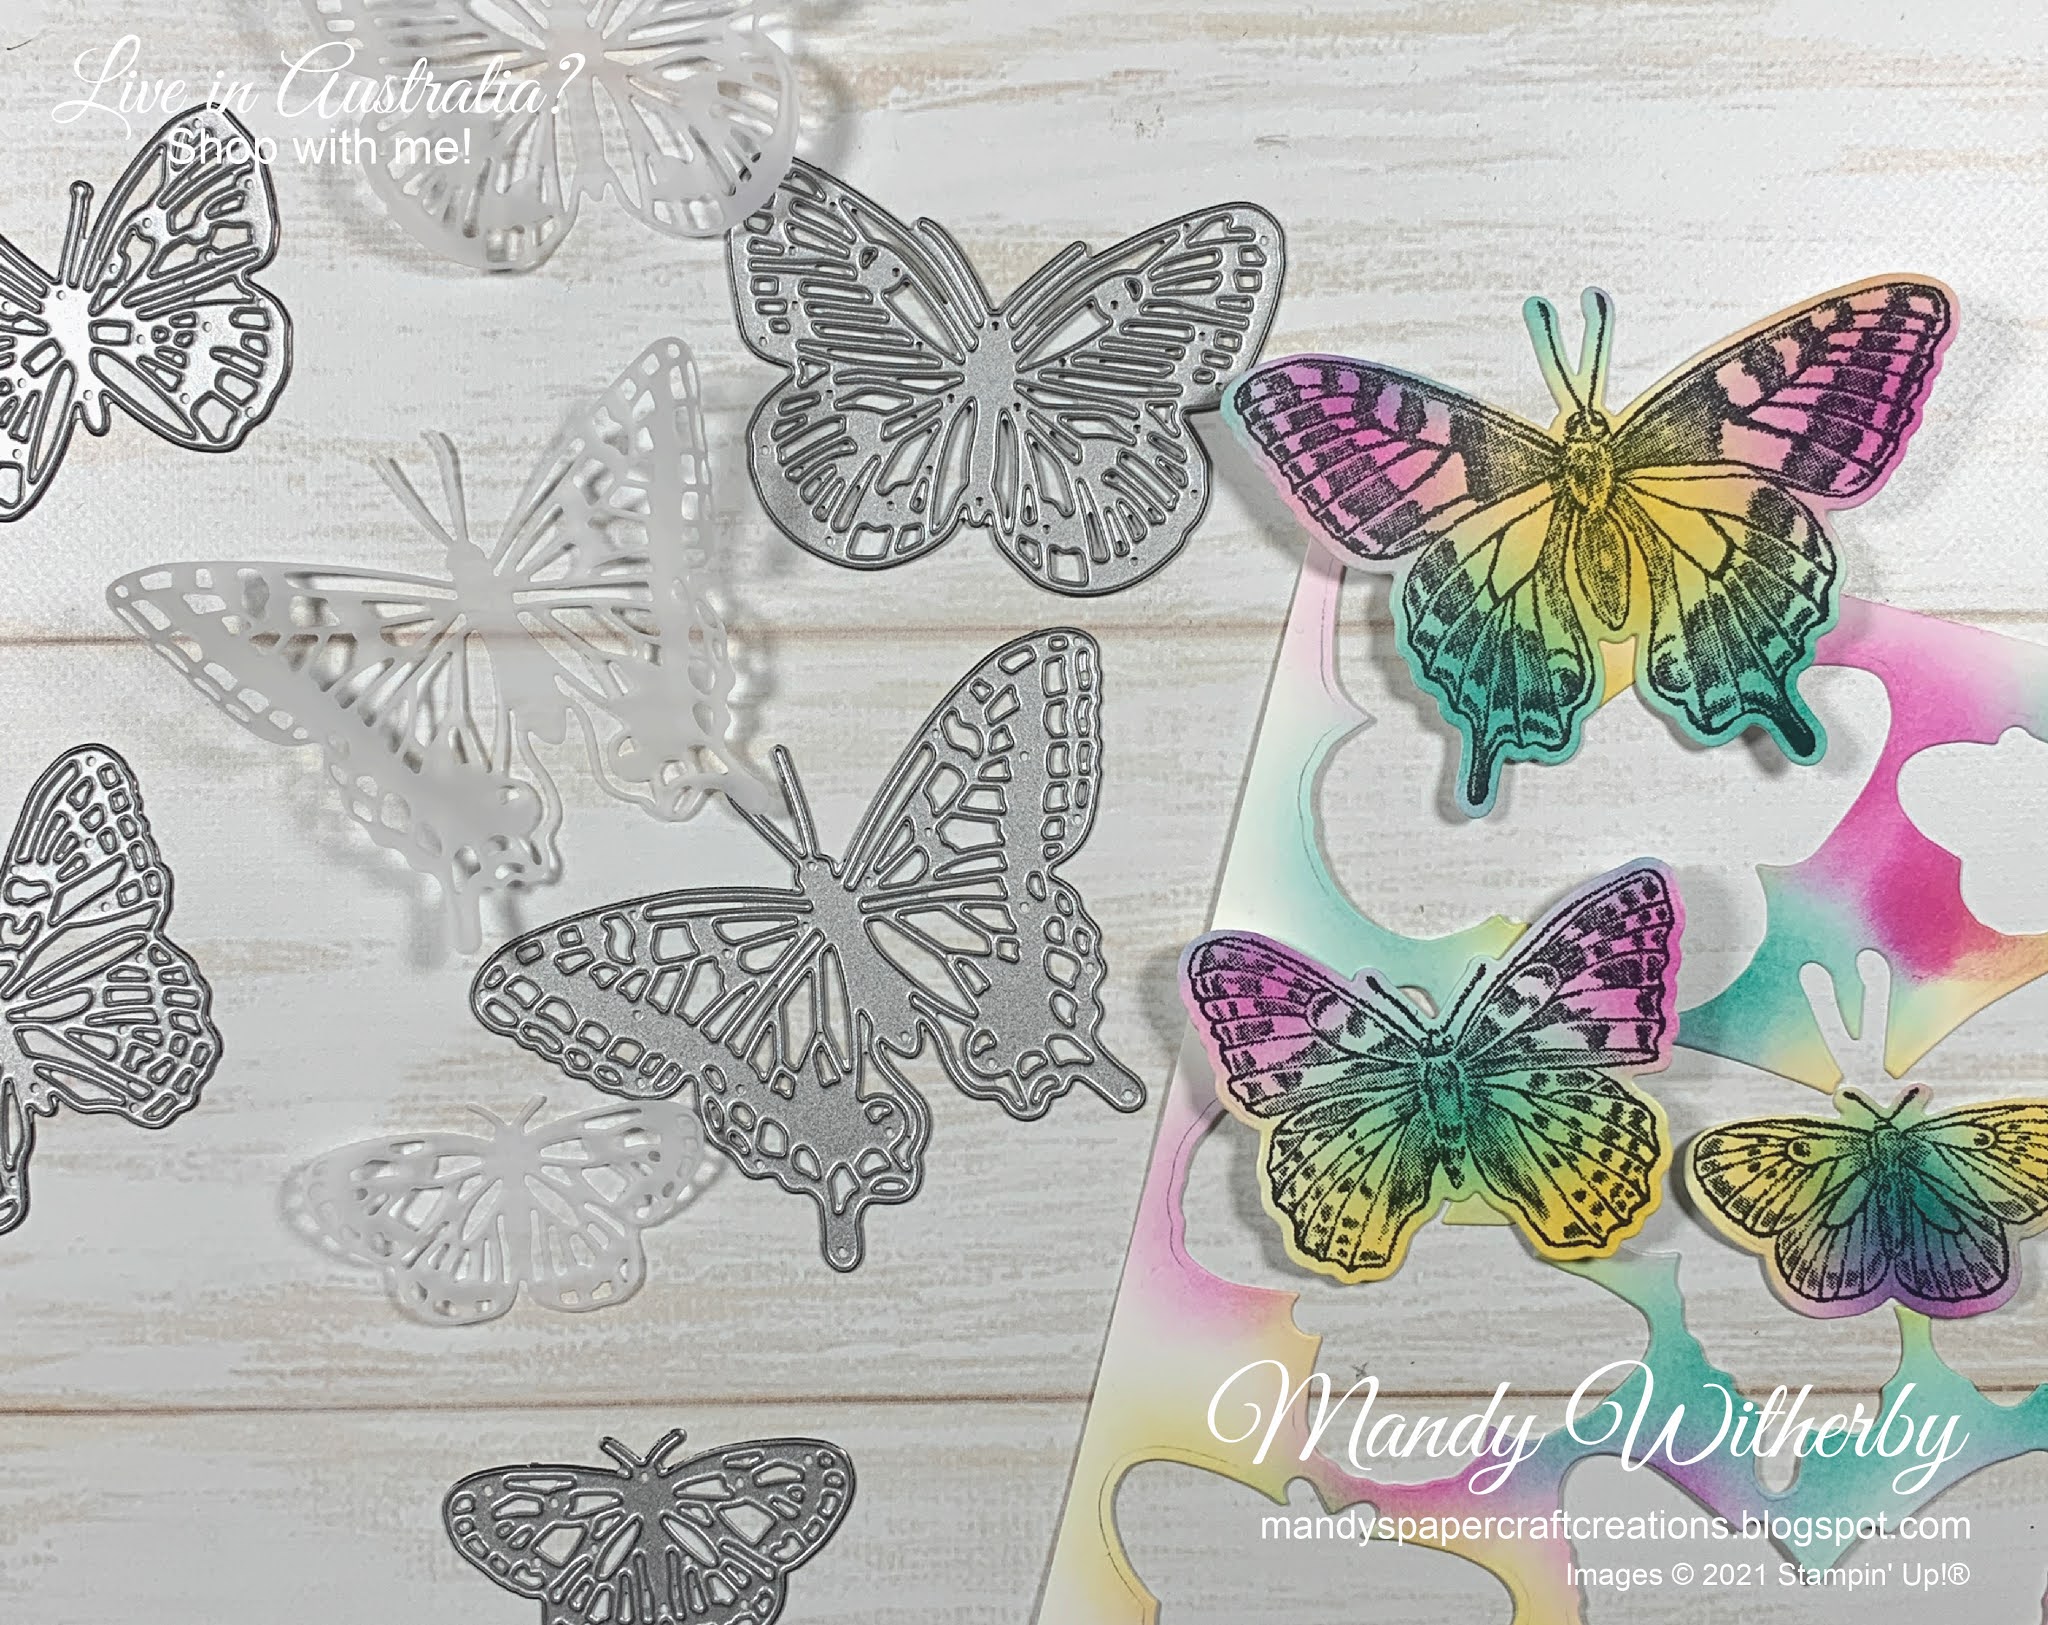
The Natural Touch Specialty Paper looks like birch wood and has a textured feel to it. I added some extra texture by using one of the textured dies that comes in this die set.
*** Remember to use my March Host Code SSFH4EB9 when your order is over $50 AUD, to receive a thank you gift from me.
If your order is over $250 AUD, don't use the Host Code, as you will automatically receive Stampin’ Rewards from Stampin' Up!®.
If you live in Australia and do not already have a Stampin' Up! Demonstrator, I would love to help you on your creative journey. See my contact details below to get in touch with me.
Thank you for stopping by my blog today. Please feel free to share my blog with your friends.
Have a great day and Happy Crafting.
Mandy Witherby
Independent Stampin’ Up!® Demonstrator, Australia
Email: mandyspapercraftcreations@gmail.com
You did a nice job. I really like how you offset the vellum.
ReplyDeleteThank you Theresa and thanks for visiting my blog.
DeleteVery pretty! I love the use of the blending brushes for the pops of color.
ReplyDeleteThanks so much Teah. I love using the blending brushes. Thanks for visiting my blog.
DeleteThe blending you used for your butterflies turned out gorgeous and they are perfect with the subtle woodgrain and vellum background. Thank you for sharing.
ReplyDeleteThank you so much Mary and thank you for visiting my blog.
DeletePretty card Mandy!
ReplyDeleteThank you Annie.
DeleteWonderful and colorful!
ReplyDeleteThank you Theresa. I like creating cheerful, colourful cards. Thanks for visiting my blog.
DeleteYour butterflies are beautiful, I love the way you used the blending brushes to color them.
ReplyDeleteThank you so much Nancy. I love using the blending brushes. They are a great colouring tool. Thanks for visiting my blog.
DeleteMandy, I love how you used the blending brushes, the colors are wonderful!
ReplyDeleteThank you so much Suzie. I enjoyed making this card. Thanks for visiting my blog.
Delete